Case Study


Imprinted Concrete Driveways
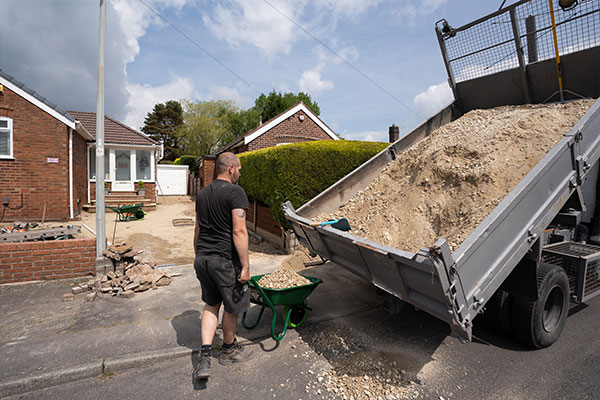
Monaghan Driveways was selected to undertake the works on this urban Cheshire property following a site visit. Effective communication among all parties involved played a crucial role in the project’s success. The following visual imprinted concrete driveways case study provides a comprehensive overview of the start-to-finish process, highlighting the key steps undertaken and the achievement of the project within the set timeline, resulting in high customer satisfaction.
- Preparation: Clear the area and excavate to depth
- Base Installation: Lay a compacted sub-base layer for stability
- Edge Restraining: Install edge restraints to define the shape of the driveway and prevent shifting
- Concrete Mix: Prepare the concrete mix with colour pigments and additives for durability
- Pouring and Levelling: Pour the concrete onto the prepared area and spread it evenly
- Imprinting: Use specialised tools to create the desired patterns and textures on the concrete surface
- Colouring: Apply colour release agents to enhance the appearance and depth of the imprinted patterns
- Curing and Sealing: Allow the concrete to cure properly and apply a sealant to protect the surface
- Finishing Touches: Clean the driveway, remove any excess materials, and make necessary repairs


